
Melbourne-based artist and illustrator Sarah Hankinson explores the beauty and mindfulness to be found in contemporary botanical art, as well as shares how to create your own.
The timeless art of botany
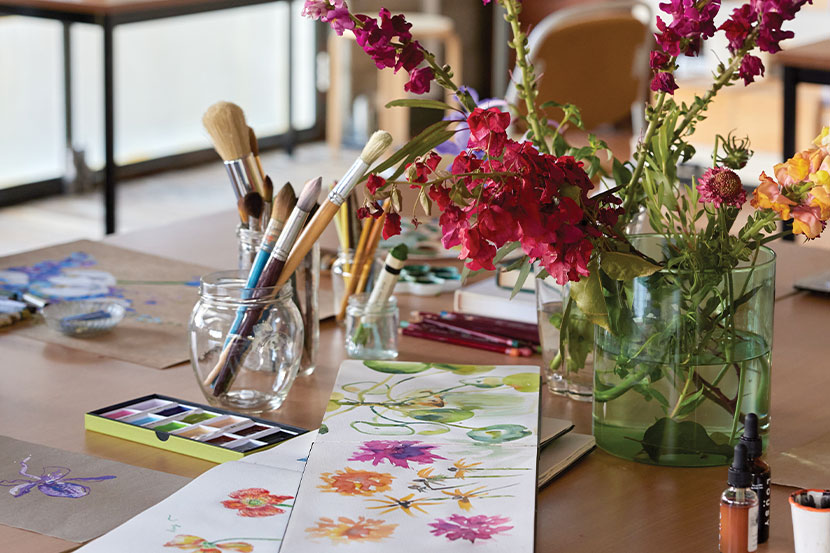
Botanical art has a long history. Before the advent of photography, accurate hand-drawn illustrations of plants were important for documentation, identification, and classification. Today, the genre of botanical art thrives as a celebration of and an ode to the natural beauty of all botanical subjects, including flowers, plants, and fruit.
Finding meaning in flowers
Flowers make fascinating artistic subjects. They all have their own individual histories and unique meanings; delving deeper into these can lead us to the folklores of different cultures and beliefs about the varied healing and magical powers of botanicals. Flowers can also evoke memories, as they are often associated with rites of passage and some of life’s most important events.
Different flowers remind me of important times in my life: the violets that Mum bought me after the birth of my first son, the dahlia I grew at the first home I shared with my partner, the smell of geraniums that will always take me back to running around my nana’s backyard.
Art as a mindful practice
Creating botanical art can help us take notice of, appreciate, and engage with the incredible beauty that is all around us. There’s a tranquillity to be found in the sensory bounty of nature, and engaging with nature through art can be deeply therapeutic and can have a profound, positive impact on mental health, offering solace and joyful mindfulness.
Art-making is a wonderful opportunity to be completely present, to really see your subject and to feel a moment more deeply than you would otherwise. I have found nothing more nourishing than being absorbed in the flow of creating, tuning in to my subject, getting lost in the work, and translating my ideas into tangible works of art.
There is magic in making something from nothing, bringing to life a scene, idea, or feeling. I encourage you to think of your own botanical art practice as play, connection, and an unfolding of ideas. Most of all, enjoy it. Reject the concept that the work you create is either good or bad; rather, it is an experimentation.
Embrace vulnerability and take risks.
Learning to truly observe
The most fundamental element of drawing is observation.
It’s not until we really look that we notice what we may never have seen before. Drawing transforms passive seeing into a more active focus and appreciation: the more you look, the more you really do see. What we actually see is different from our preconceived idea of how an object should appear. Our conditioned response to an object and our habits of seeing should be shaken up when we observe and then draw.
Before starting to draw, study your flower subject as if you have never seen a flower before. Be curious. Contemplate how each flower became – where it grew and its place in nature. Flowers are always organically changing and transforming, like all natural processes. Get familiar with botanicals: if possible, pick up your flower and study its anatomy. If you have several varieties in front of you, you will notice they are all vastly different; focus on the intricacies that make each flower unique.
Think of yourself as a botanical detective: your job is to investigate and describe what you observe. Ask yourself: What shapes are the leaves making? Is the stem on an angle? Is there a pattern in the petals? What is the darkest area? How can I best portray the beauty of this flower? Ask yourself exactly what you are seeing – the shape, texture, surface, proportions, lines, angles, and relationships between forms.
A great technique for looking is to squint your eyes to blur your vision: this helps to make the subject more manageable and breaks it down to its simplest form.
If I could give only one tip for your art-making journey it would be to look, then look again.
A unique approach: drawing with your other hand
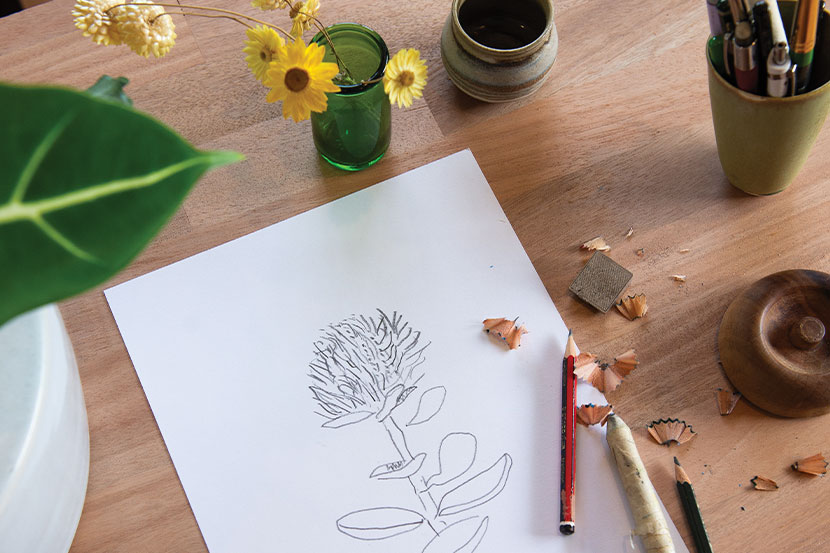
Use your non-dominant writing hand to draw the scarlet banksia.
This exercise will force you to draw slowly and take your time in observation. Non-dominant-hand drawing works to stimulate curiosity about your subject and focus on its forms, shapes, and structure. It feels odd and will require concentration and perseverance, but sitting with the discomfort switches you out of autopilot so you can better observe the flower.
MATERIALS
- Graphite pencil, 6B–9B
- Paper, A4 or A3
- Take a moment to observe the scarlet banksia and break the scene down to a collection of connecting shapes.
- Using your non-dominant hand, sketch the shapes of the flowerhead and stem, followed by the leaves.
- Check your sketch’s overall proportions; don’t worry about wobbly lines.
- As you become more comfortable drawing with your non-dominant hand, mark in some finer details.
TIP: Don’t overthink what you are doing while you are working on this piece, and try to relax into the mindset of process over product. The final result of your non-dominant hand exercise isn’t important.
The magic of watercolour painting
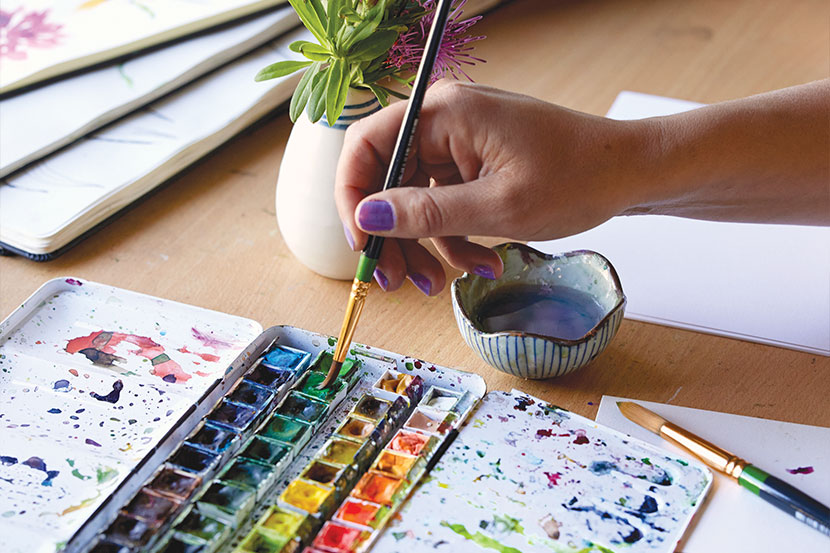
Watercolour is a highly expressive medium that is used to create majestic, beautiful artworks. To use watercolour, you need to let go of perfectionism and embrace unpredictability. It has a mind of its own, but while the results can be unplanned, they are usually wonderful.
Watercolour is transparent, which means light bounces through the paint and off the paper, giving works luminous, bright qualities. There is so much variation in the way you can use watercolour.
Traditionally, watercolour artists would layer tones gradually to create a realistic result; however, a more modern application is the gestural wet-on-wet technique, which is how I predominantly work.
Wet-on-wet is a technique that uses wet paint on top of a layer of wet paint or wet paper. It is a style of working that is unique to watercolour and gives a beautiful result of blooms and bleeding colours.
Working with watercolour is all about giving an impression and capturing an essence: watercolour botanical art does not need to be photorealistic.
Don’t be afraid to work quickly and spontaneously, using lots of water and pigment. Vary the pressure when making brushstrokes and experiment with the amount of colour and water you use, in order to change the intensity and value of the colours.
Enjoy the application of watercolour and watching it bleed, morph, blend, and dry. It can be mesmerising and even meditative.
A great way to buy watercolour paints is in half pans that come in a tin. Half pan or pan watercolours are intensely pigmented so last a really long time.
You could start off with a small set that includes primary colours and mix your own shades.
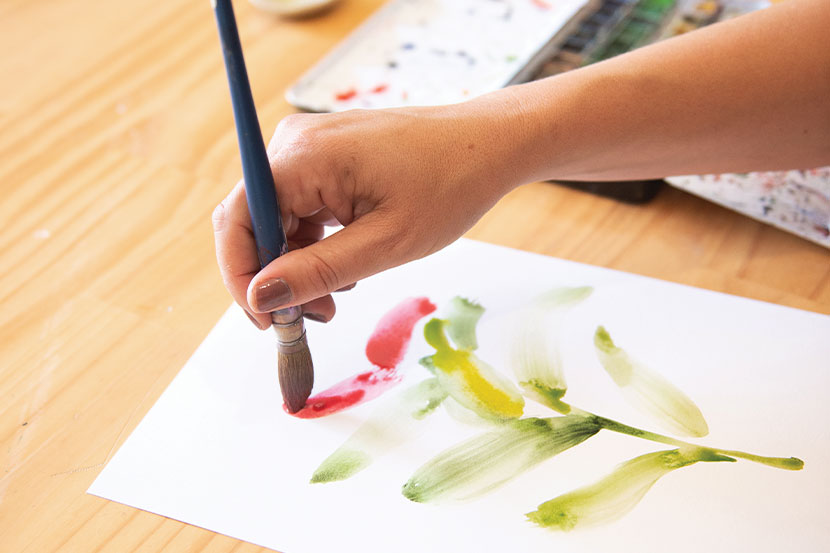
An expressive medium: painting a watercolour waratah
The waratah is a much-loved native Australian flower. The common name comes from warada, the Dharug word for waratah. The botanical name is Telopea speciosissima and comes from the Greek word telopos, meaning ‘seen from afar’, in reference to the distinctive flower head that is recognisable from a distance.
This project uses a wet-on-wet technique. Play with adding more colour to the paint after you have applied it, experimenting with how the colours interact while still wet. Also, experiment with the pressure you put on the brush, from using the point for a fi ne line to pressing down for a much thicker line.
MATERIALS
- Watercolour paper, A4, your choice of texture
- Watercolours
- Round brush, size 12
- Use a watered-down brown to lightly paint the straight line of the stem. Leave a gap wherever a leaf will join the stem.
- Use a mid-green to paint the leaves. Don’t worry about accuracy but try to capture their dynamic gestures. While the leaves are still wet, add a darker green and yellow to create a variation of tones bleeding together.
- With a mix of red colours, ranging from pink- to orange-based tones, paint bracts gesturally, starting at the bottom and extending upwards while tapering away to the points. When painting the bracts, ensure that you have picked up enough paint on your brush to make your strokes bold and vibrant.
- Using the tip of the brush, paint in the flower buds in a pyramid configuration, noting how they become more circular in shape as they near the top.
PHOTOGRAPHY: Becca Crawford, Janna Bennett, Michael James, Sarah Hankinson
For more botanical art inspiration, pick up a copy of Art Class: Flowers and Foliage by Sarah Hankinson, published by Thames & Hudson Australia, August 2024, $39.99 AUD.
You can find more of Sarah’s work on Instagram @sarahhankinson_artist.


